Using AutoCorrect in Word 365 for Macs
Do you ever find yourself repetitively typing out the same string of words, whether editing or in email responses? Shortcuts are a welcome timesaver and free up energy in your brain. This post shows how to use Word 365’s AutoCorrect function on a Mac to autocomplete words or sentences for you. How about having your signature at the bottom of a document, automatically inserted by Word? The AutoText function does just that!

Creating AutoCorrect text shortcuts
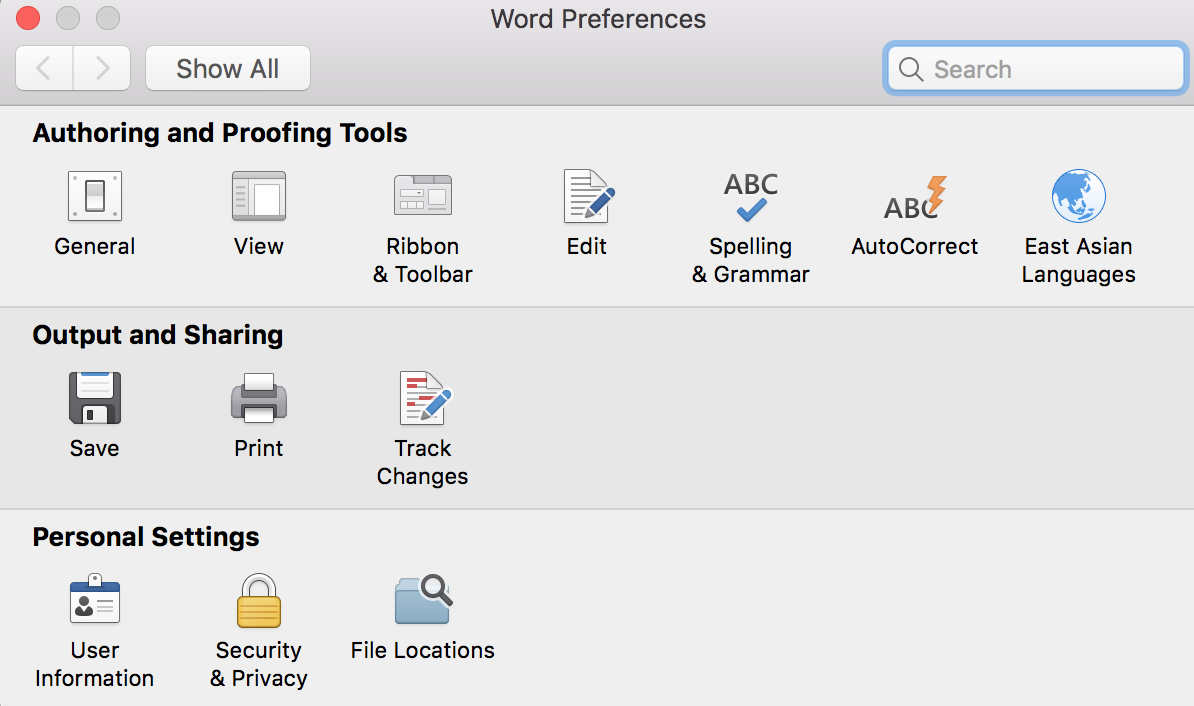
Do you notice how there is not only the menu at the top of Word, that is, the menu tabs like ‘Home’, ‘Insert’, etc., but there is an additional menu above it on the Mac toolbar: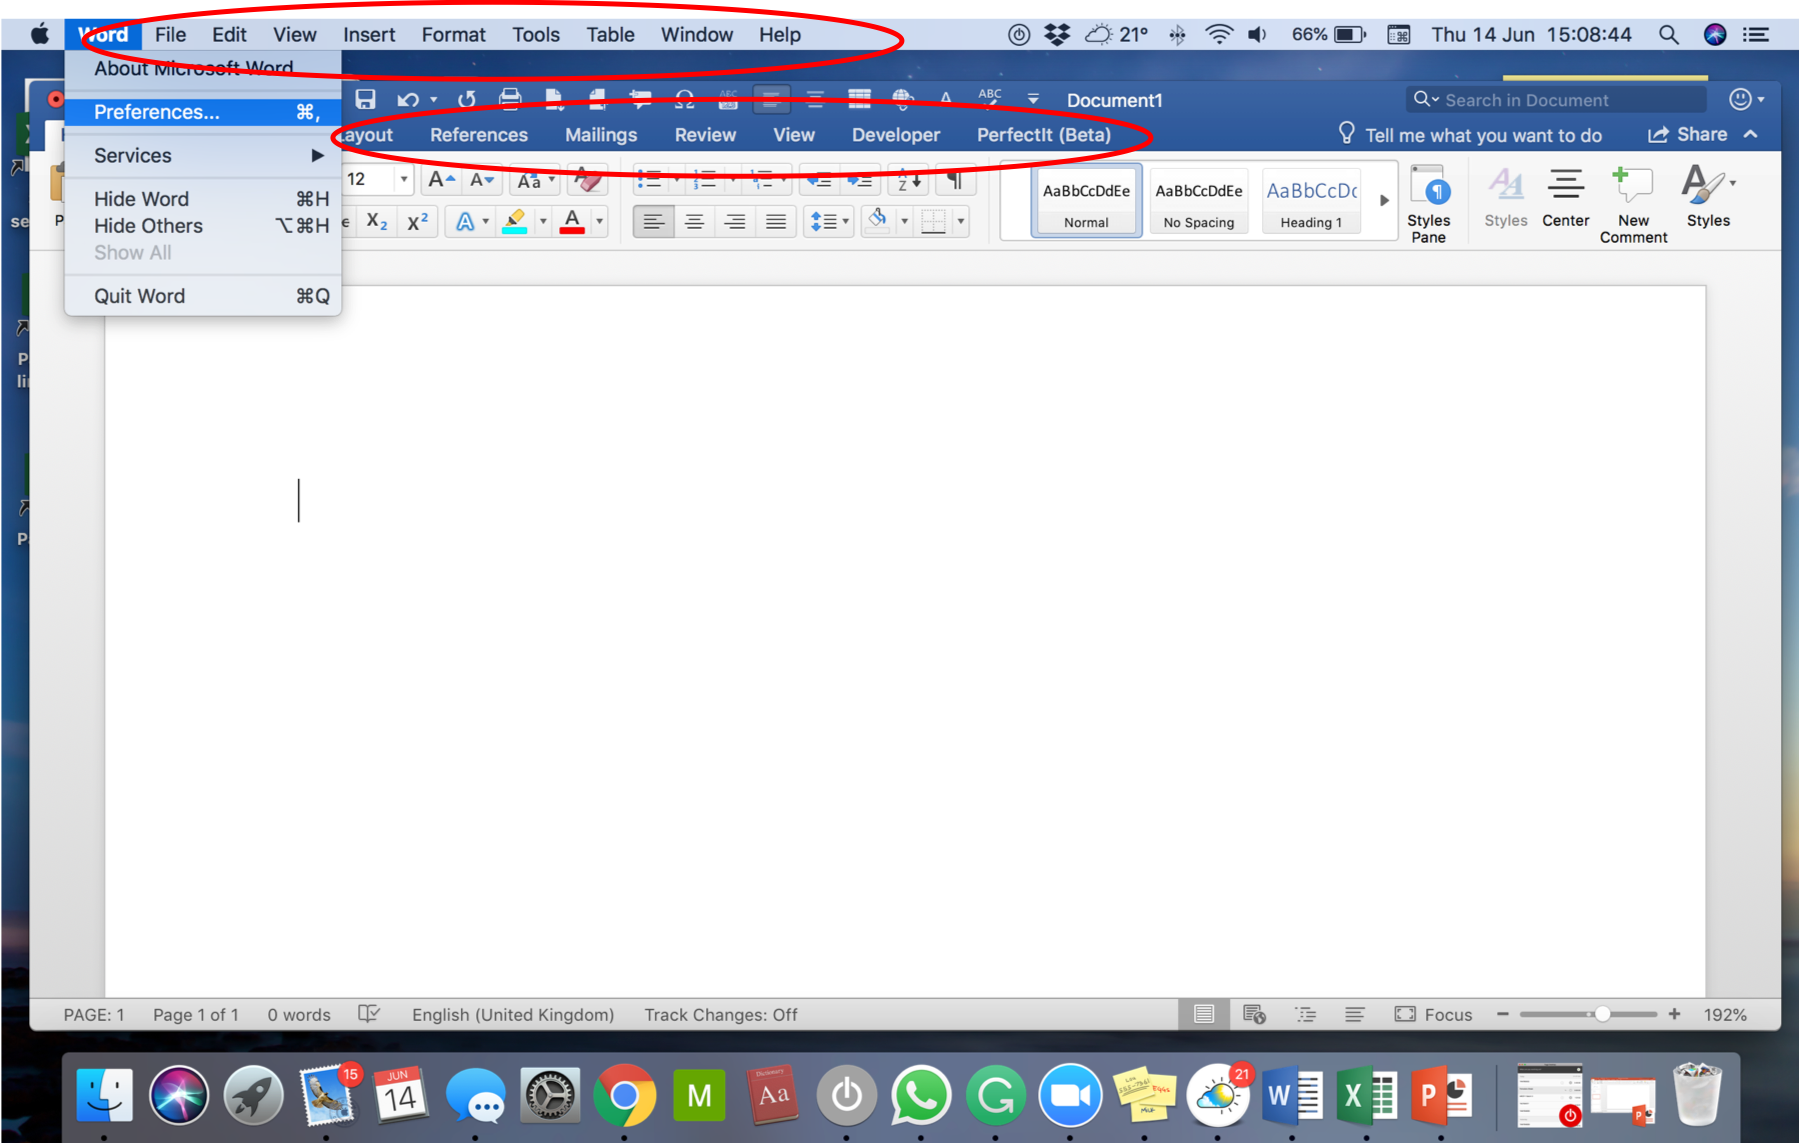 Clicking on Word in the upper left brings a dropdown menu. Clicking on Preferences brings up the box you see in the first picture, this one:
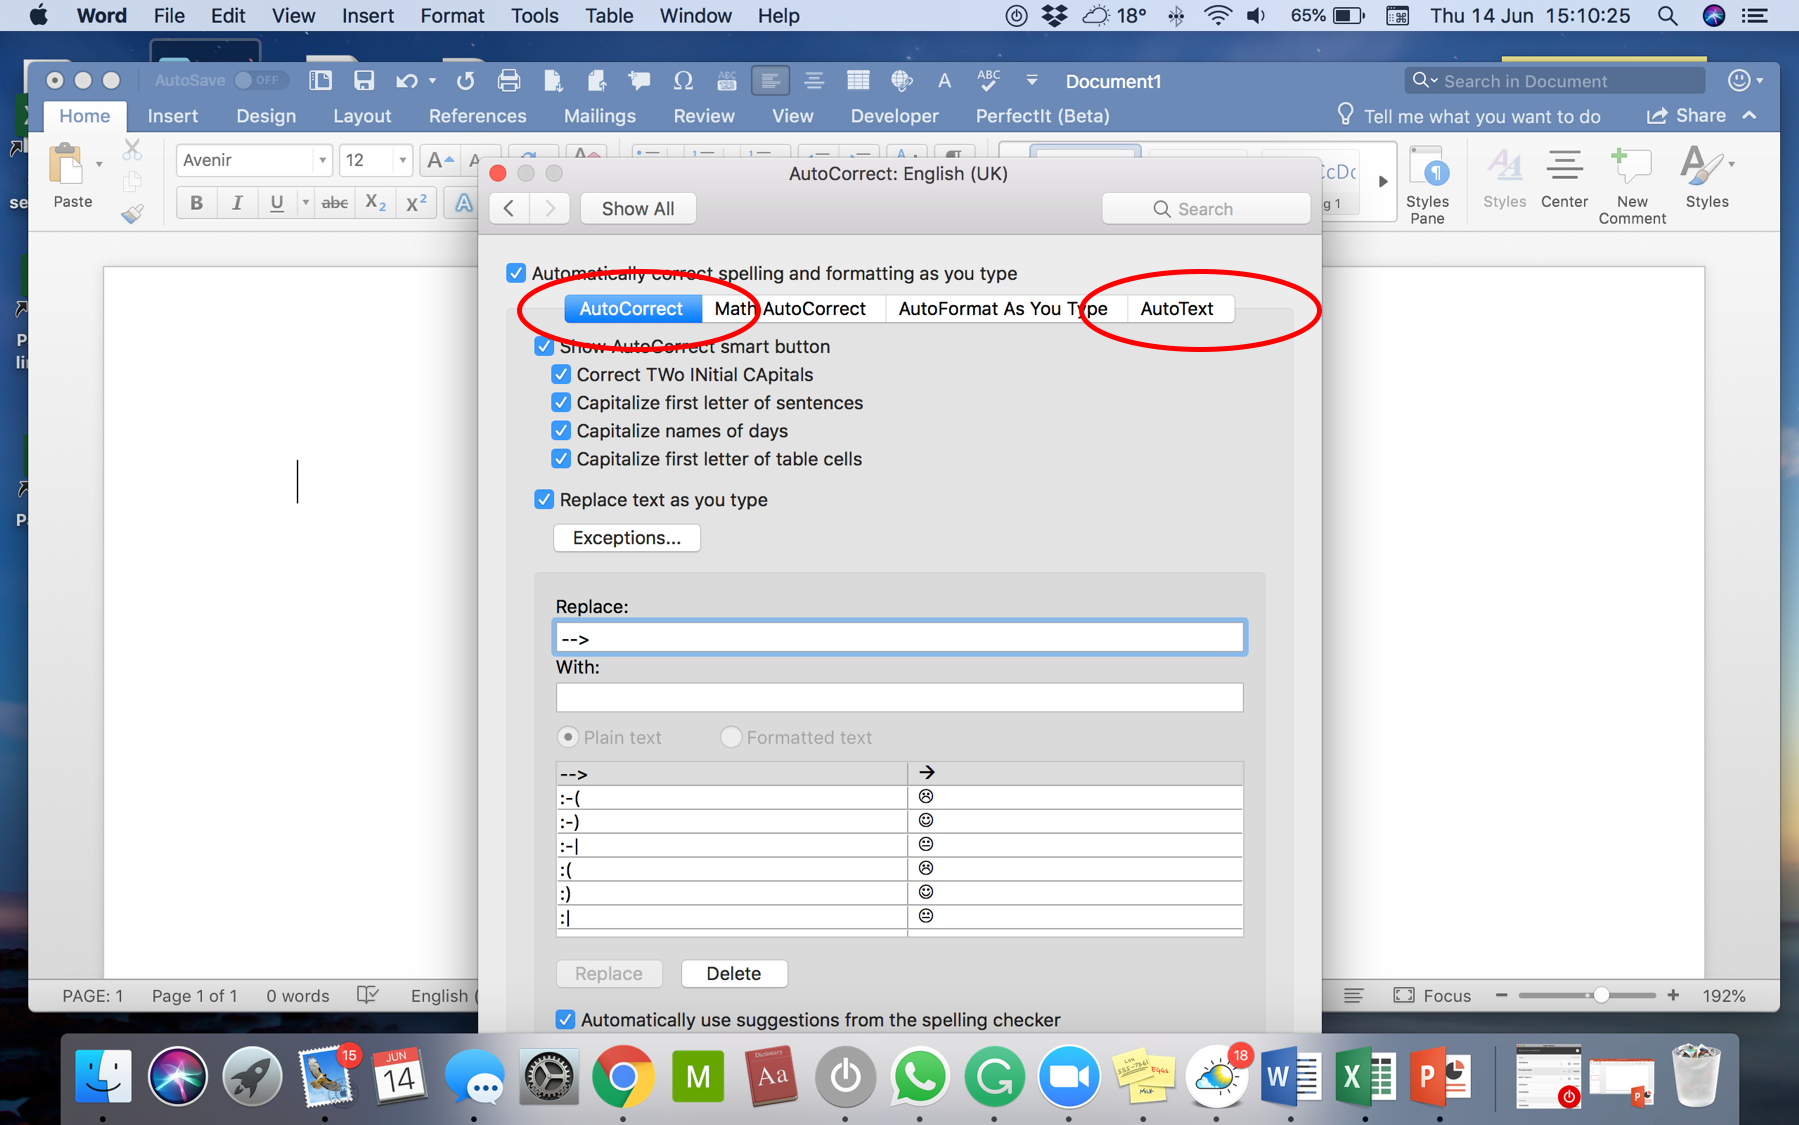
For the moment, we’re going to focus on the AutoCorrect function here. What happens when you click on AutoCorrect? This:
The tabs we’re focusing on here are circled. Ignore everything else in that box. Let’s do some autocorrecting of text right now.
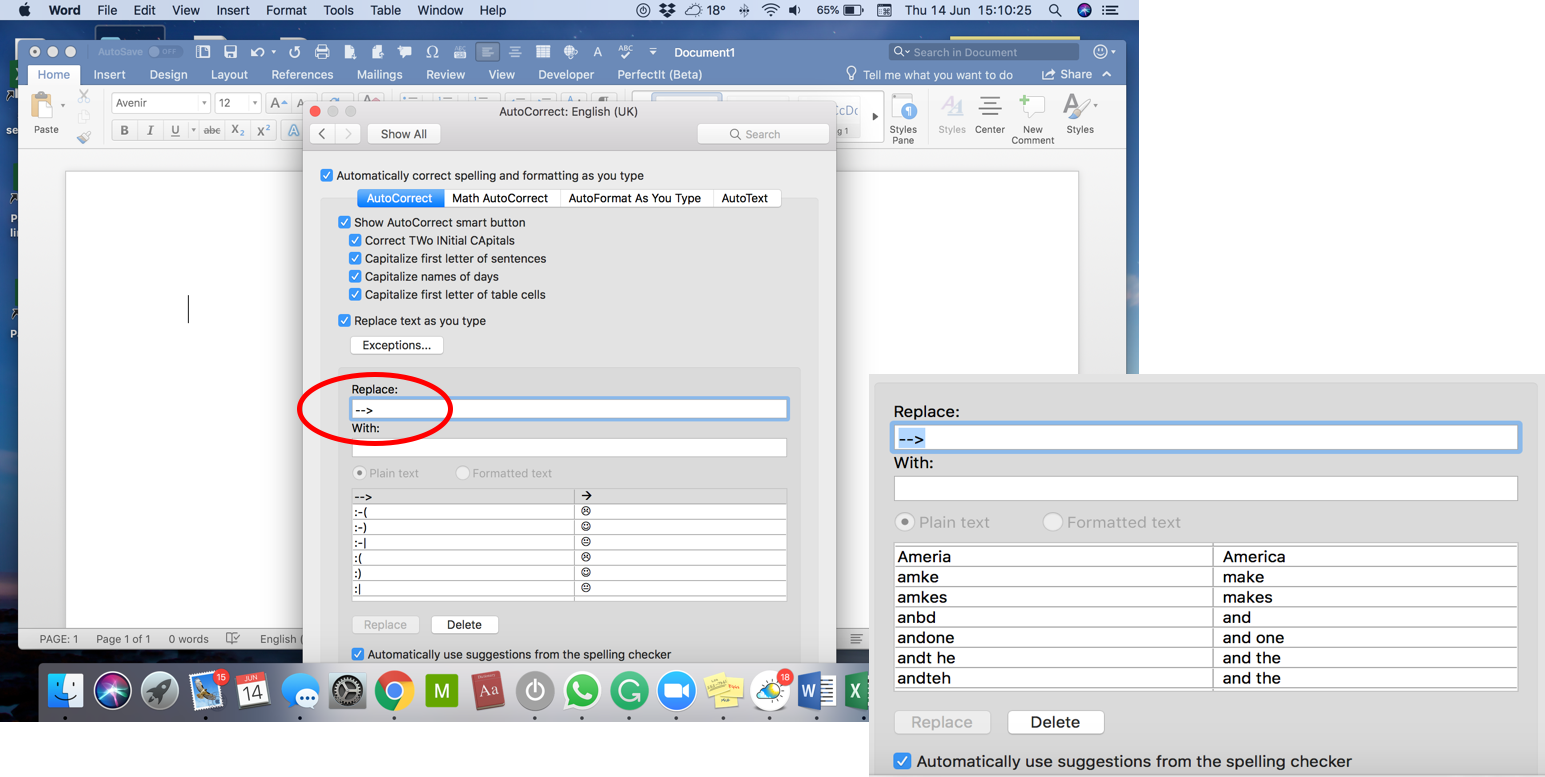 Typing something short and easy to recall in the ‘Replace’ box is the shortcut you’re creating. It’s better to make up a nonsense word that will be recognised quickly by Word as being your shortcut. You can see in the box on the right some of the A-words Word already has built in that are common typos.
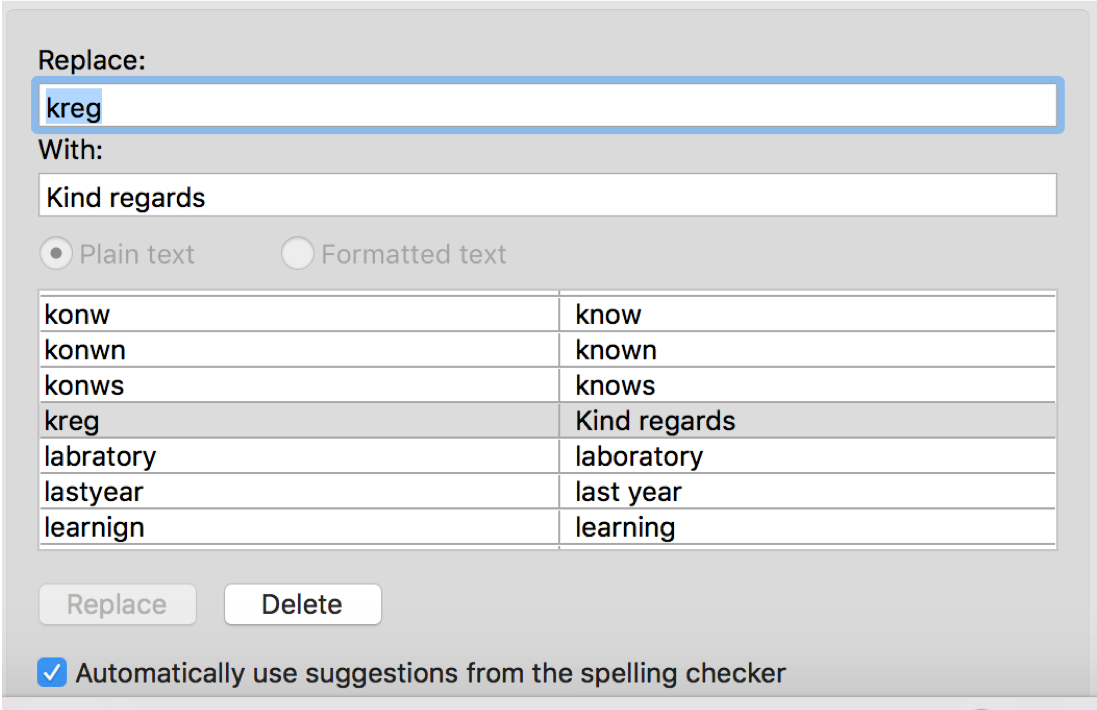
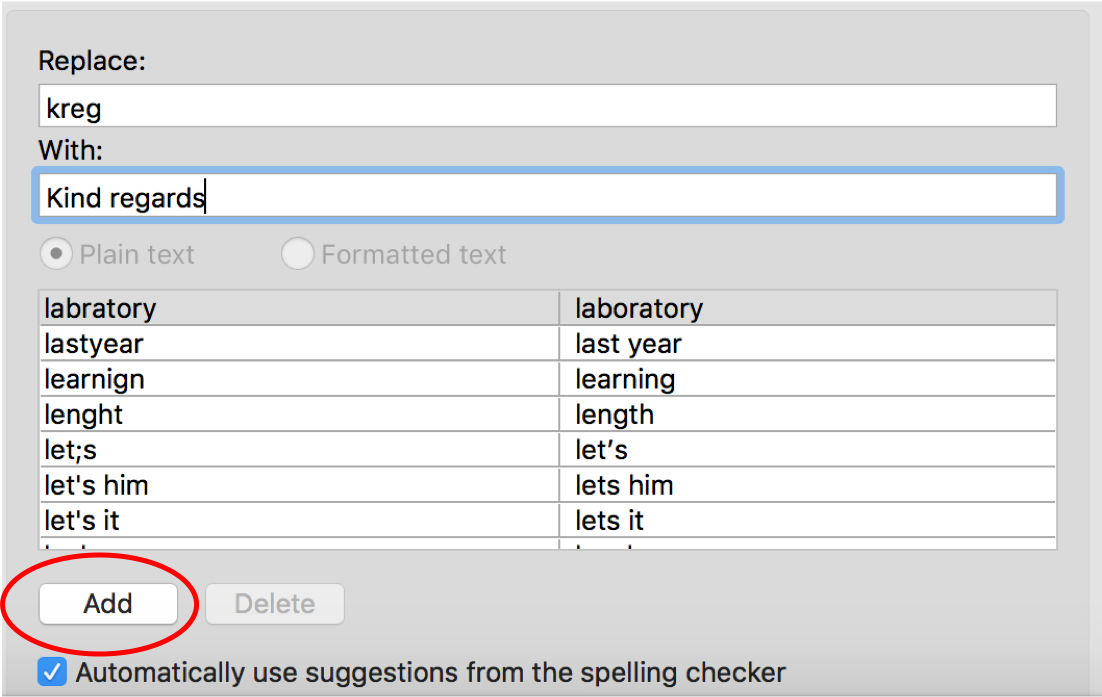
Let’s say you want to shorten ‘Kind regards’. It’s a bit of a faff; you might be capitalising K and typing out two words. A short word for that might be ‘kreg’. See it in the ‘Replace’ box? That means every time ‘kreg’ is typed, Word will replace it with – you guessed it – ‘Kind regards’. Put your shortcut in the ‘Replace’ box and your intended text in the ‘With’ box. Click on the ‘Add’ button and you have your bit of AutoCorrect text!
See it there now, among the list of Word’s other AutoCorrect words?
So, the world’s your oyster now! How about a longer string of text? Something you’d like to have a shortcut for that feels a bit … mind-numbing to type out repetitively. How about this: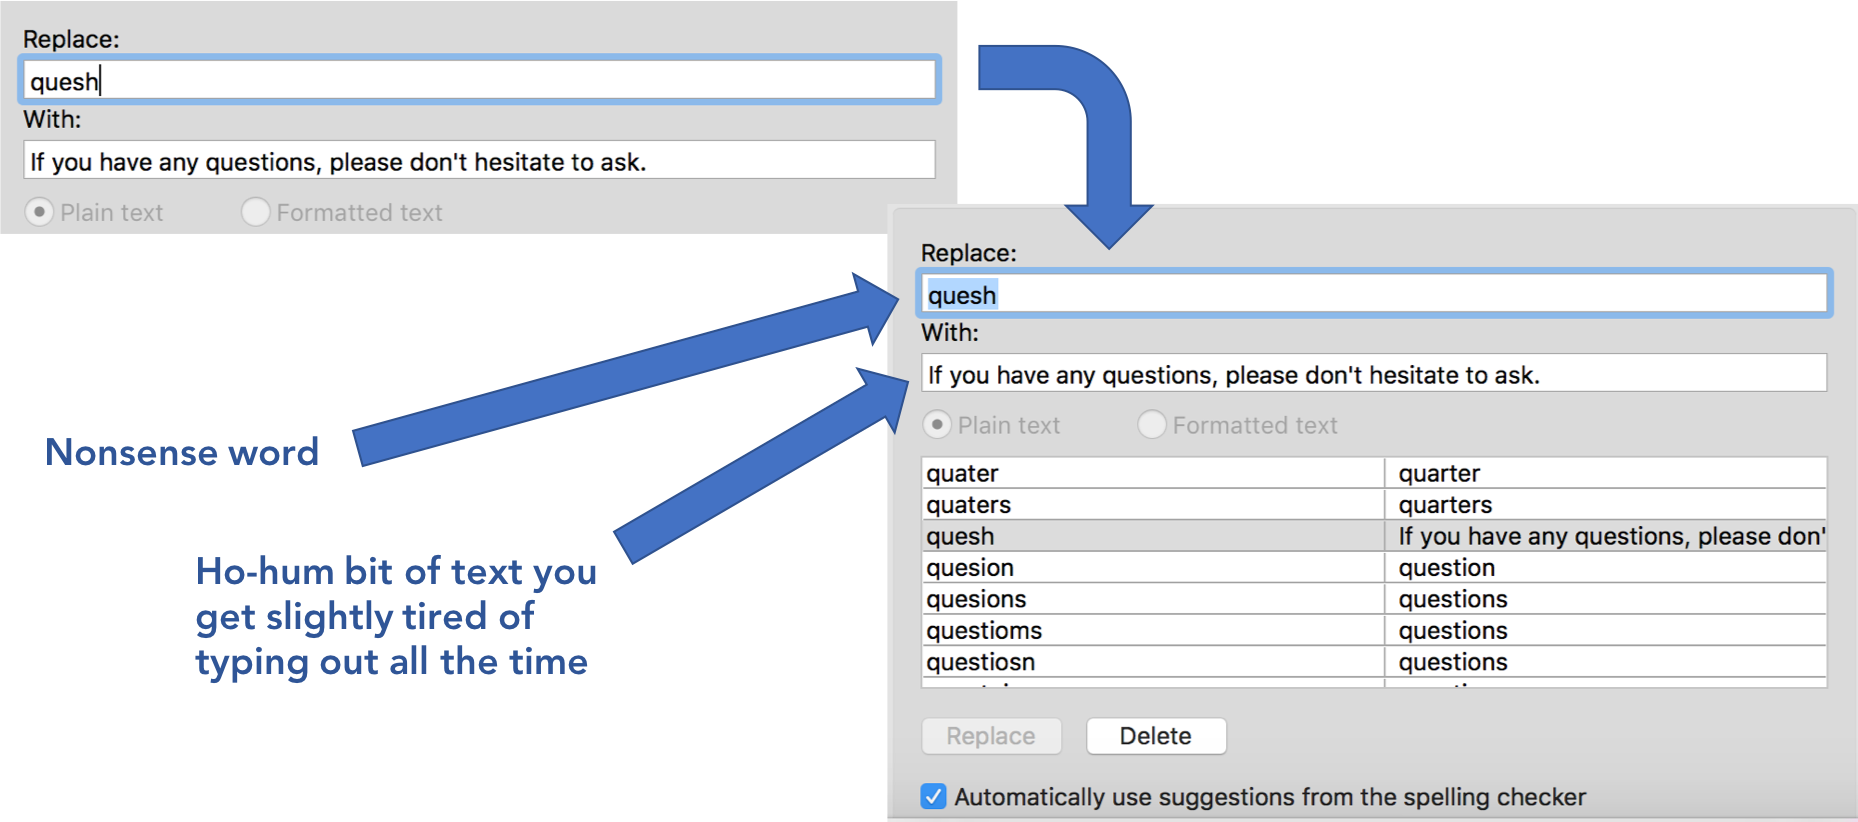 You can go wild now! It might be useful to keep a list of your shortcuts at hand – there will come a day you won’t remember all your shortcut words.
Creating AutoText
This is a great feature! Imagine typing a one-word shortcut et voila! … like magic, your handwritten signature appears with whatever text you want underneath it. How do you do that? How do you get a digital image of a signature? Well, let’s start with the signature. Sign a blank piece of paper. You can use a scanner to save the signature (or ‘image’) as a file (it could be a .jpg, .png or PDF file) on your computer.
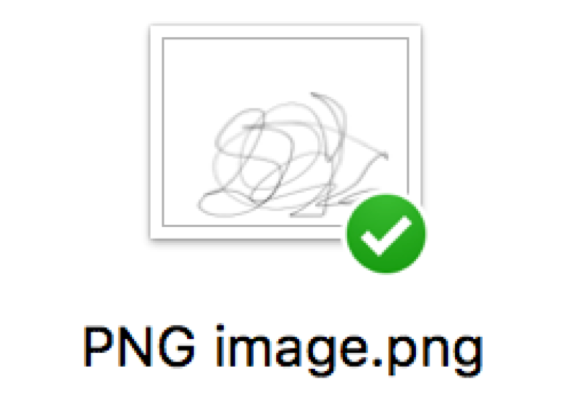
Here’s a saved image of a ‘signature’. A scanned image will usually be a PDF file. I created this image with Notes and saved it to Dropbox, where it saved as a .png file. What next? How do we import it into Word? Here’s a quick lesson in copy and paste:
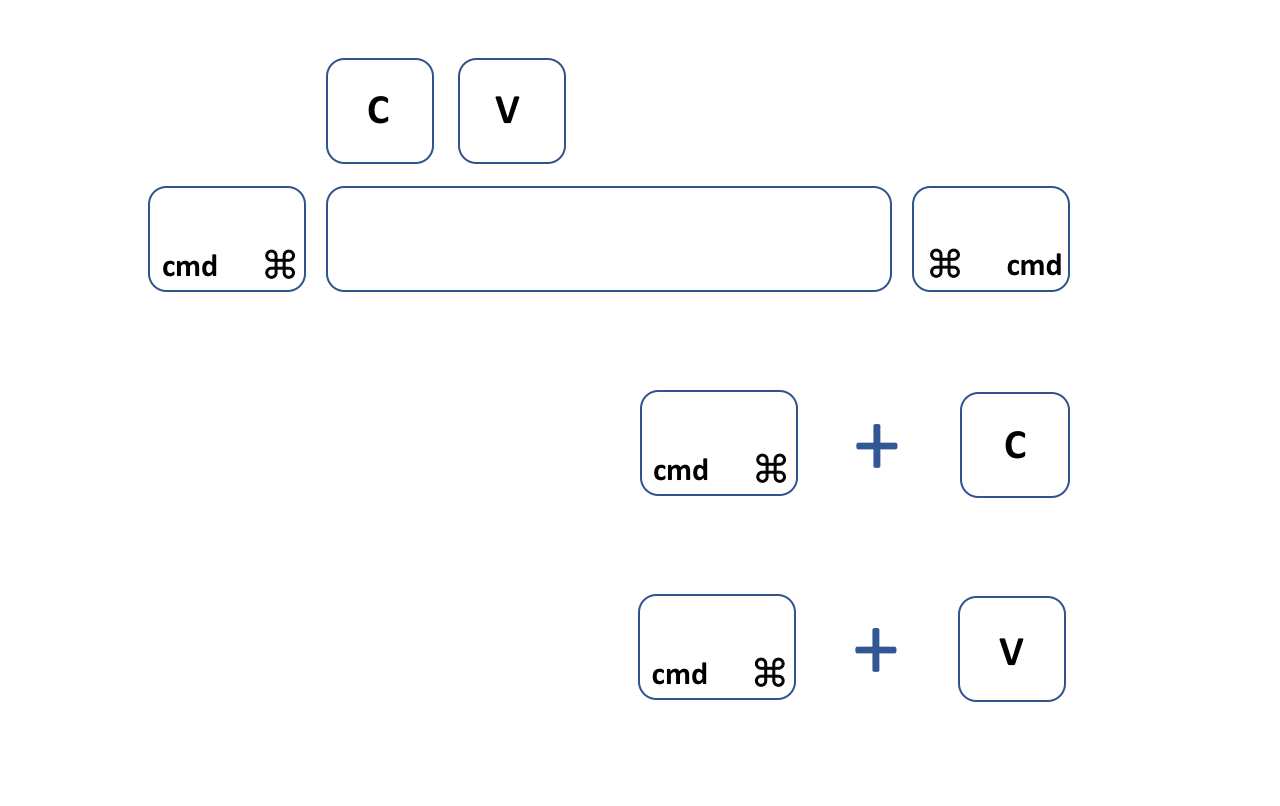
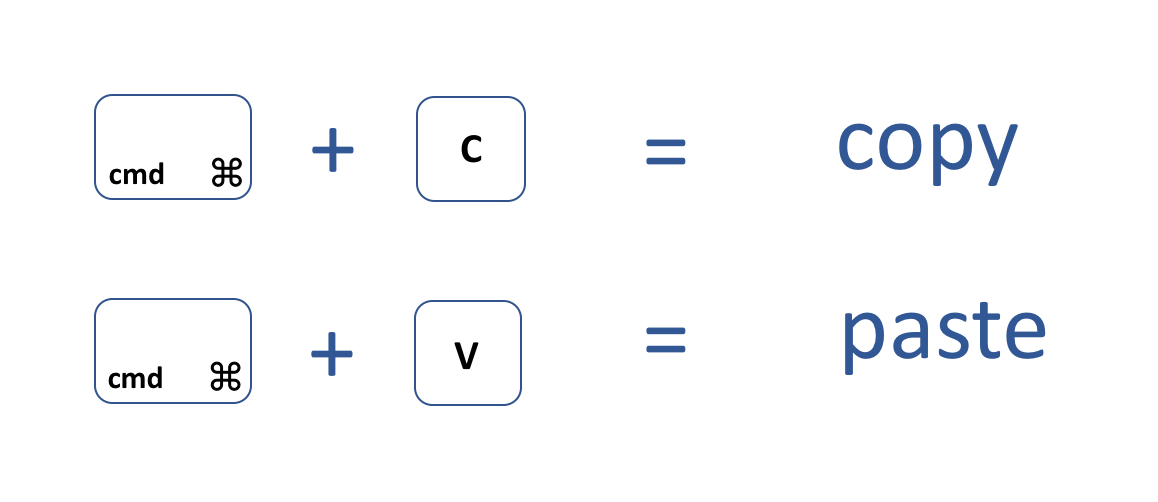
cmd + C pressed simultaneously copies anything you’re highlighting. It’s Ctrl + C on a Windows PC. To paste what you’ve copied elsewhere into your destination document, it’s cmd + V (or Ctrl + V).
So, let’s copy and paste our signature into a Word document, using cmd + C ➡️ cmd + V. Here’s what we now have:
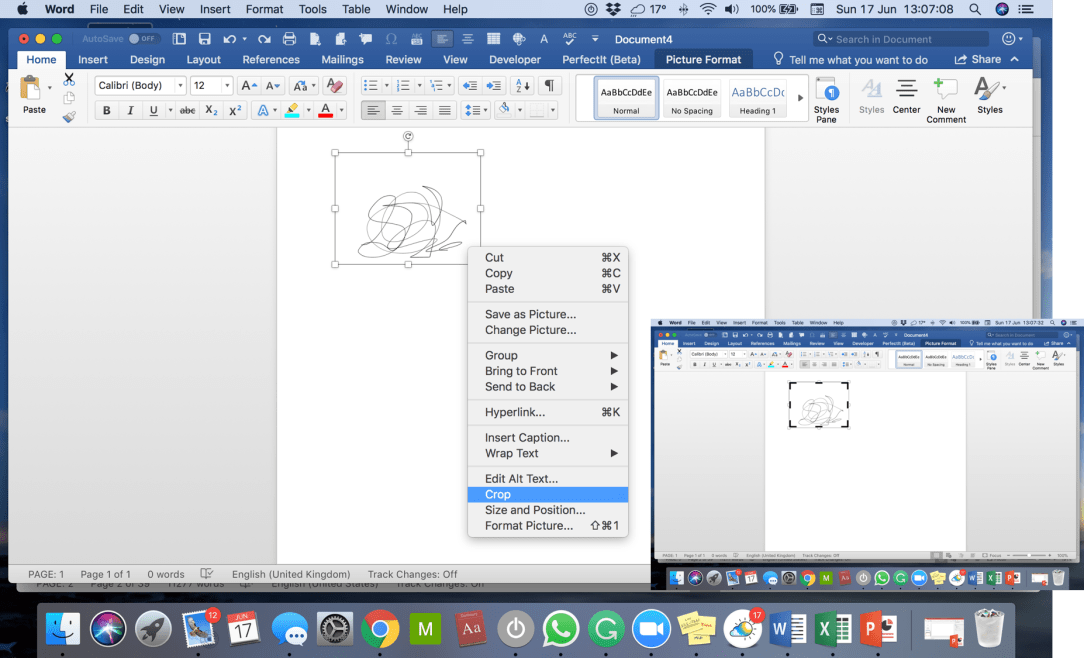
 See all that space sitting above the signature? It’s not great to have that as it’ll become part of the signature AutoText if it’s not resized. To get rid of it, use the crop option (right-click on the image for that menu):
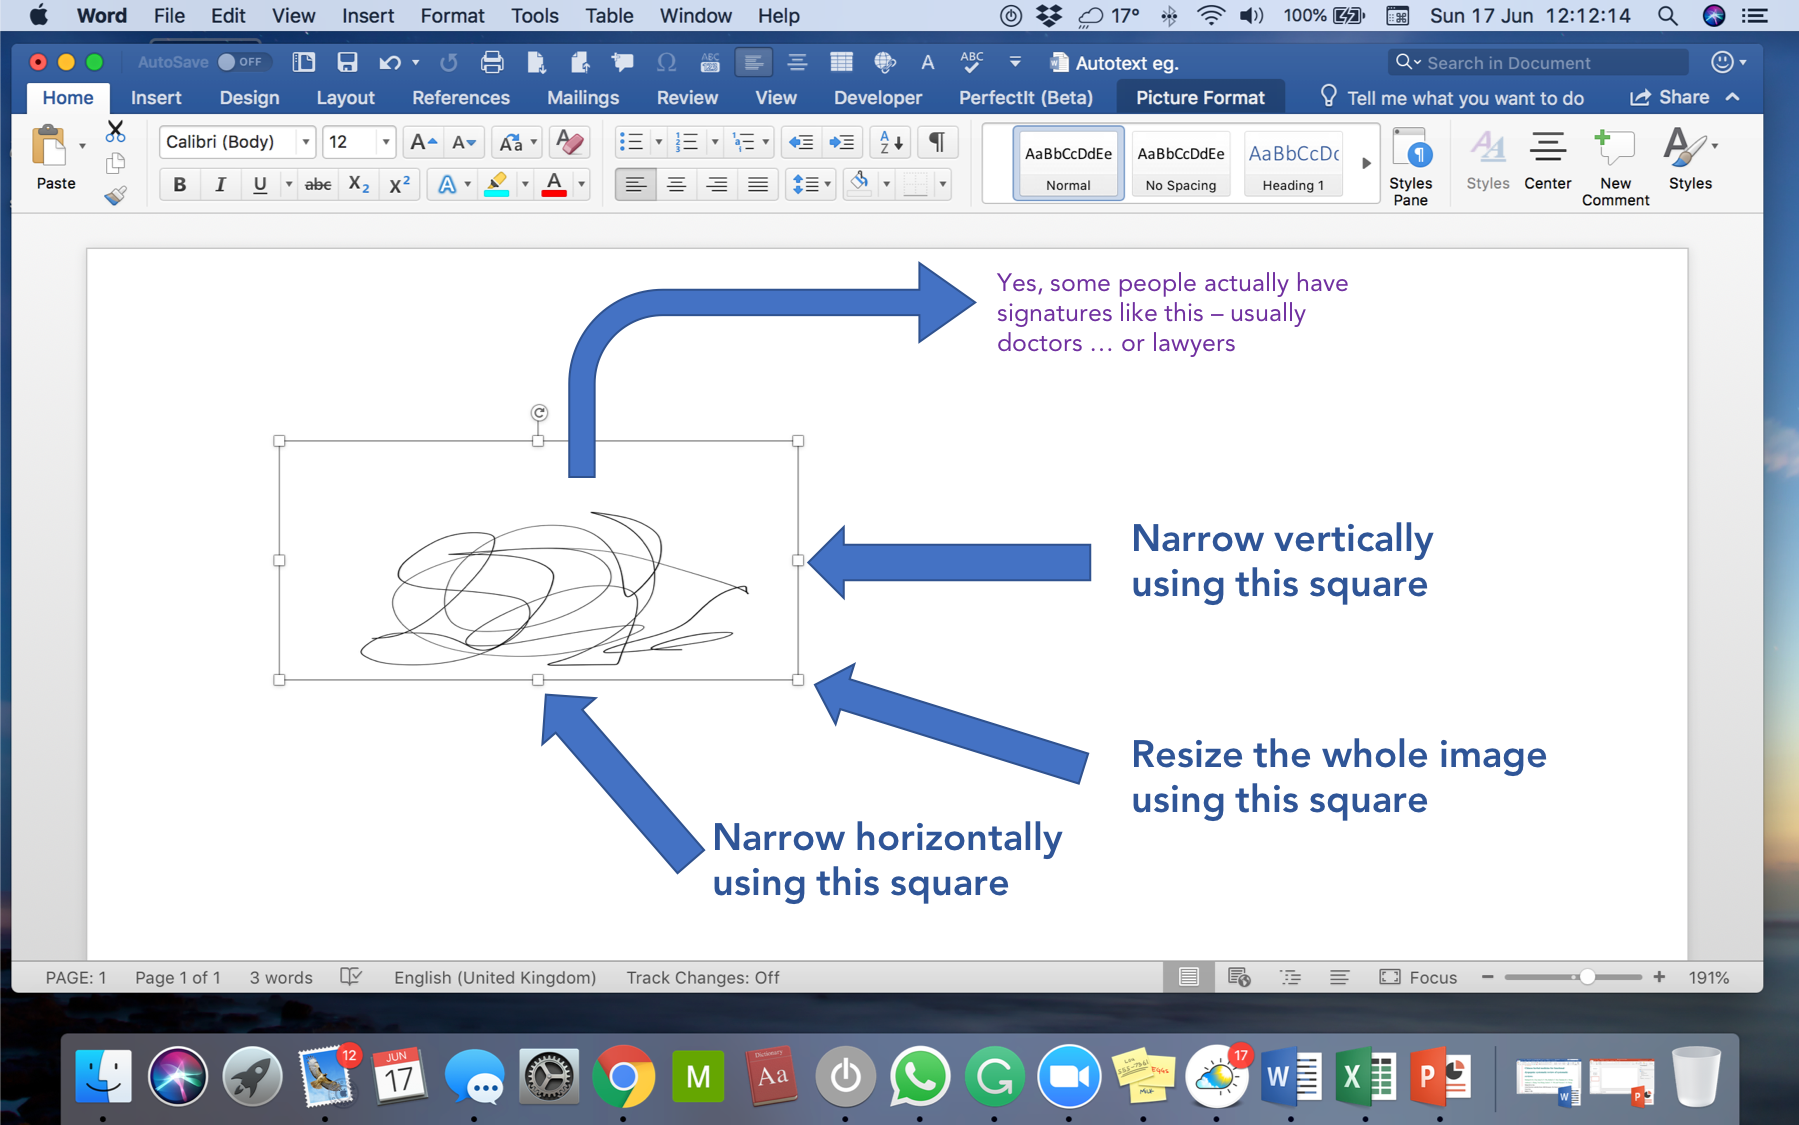
The image outline will now have black lines and corners that you can toggle to cut and resize. OK, so let’s type some suitable text below our signature. Next, highlight the image and text.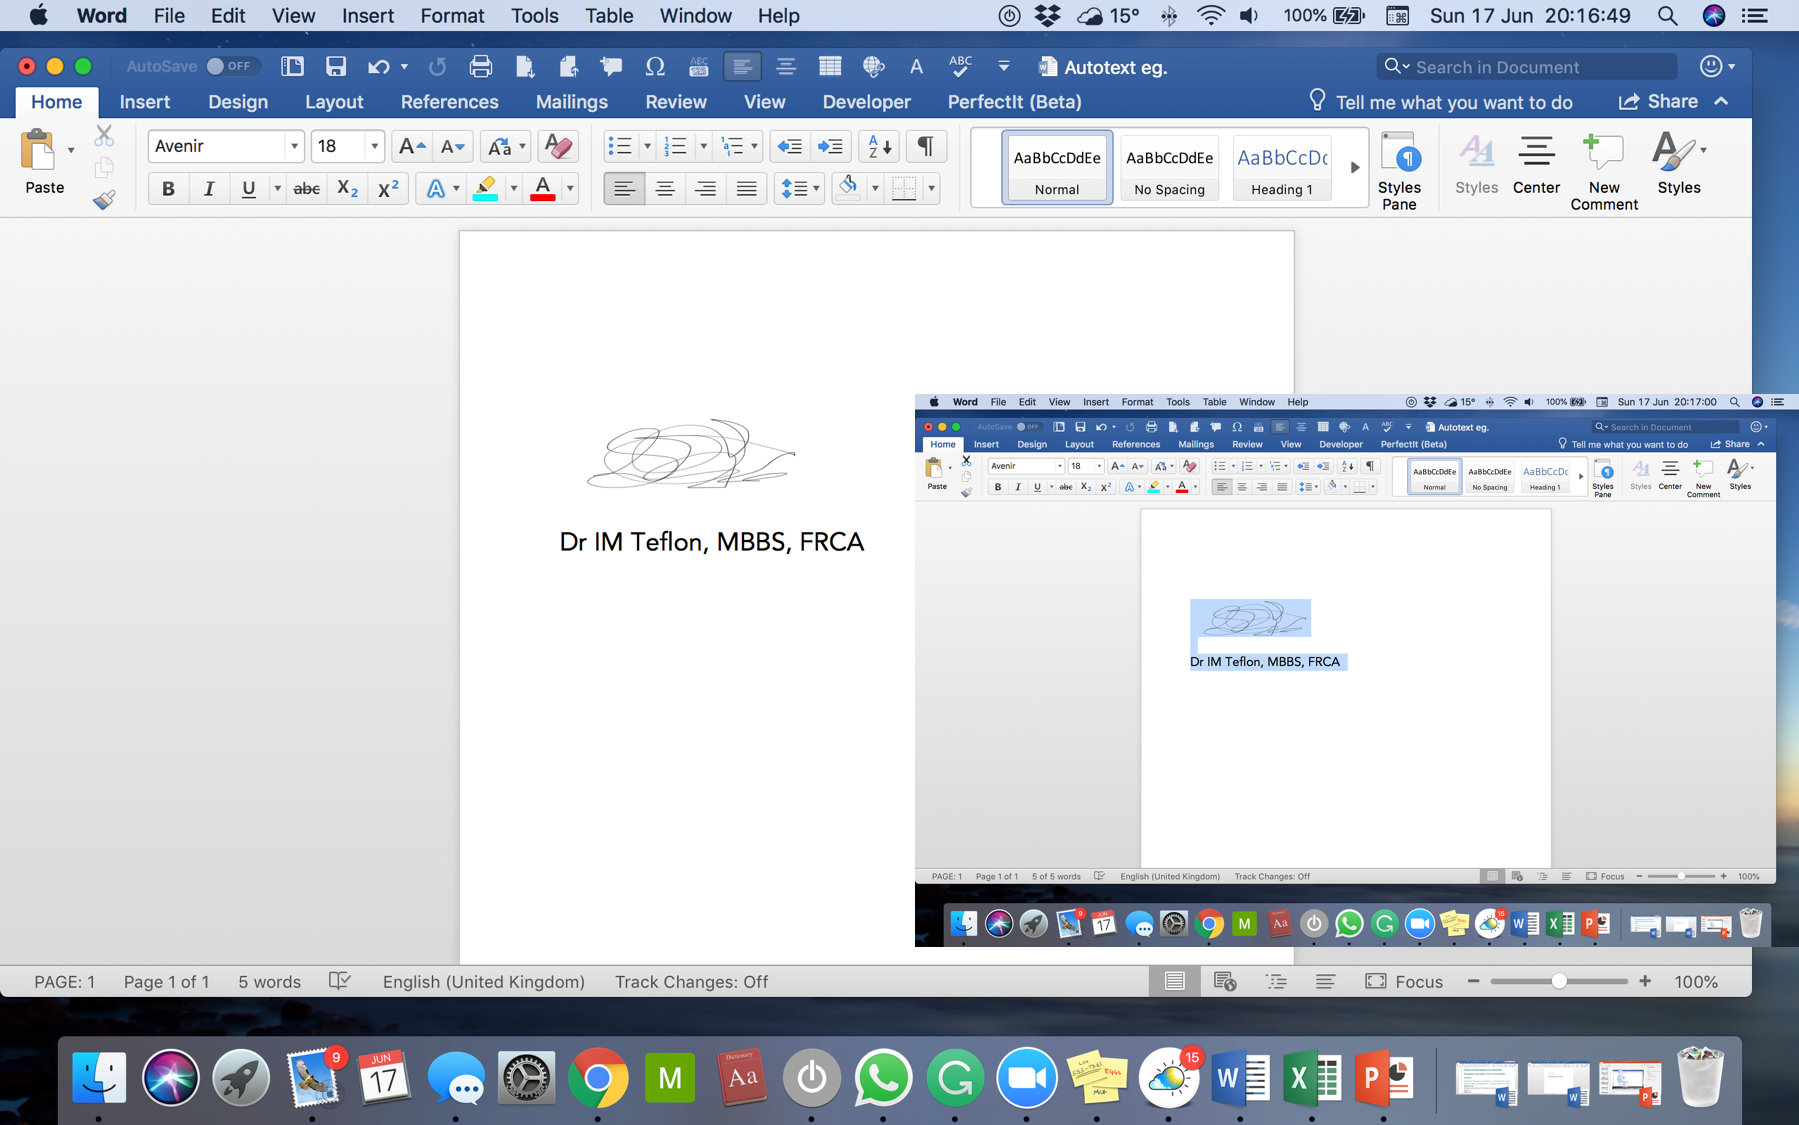 We’re nearly there. With the image and text highlighted, click the ‘Insert’ tab on the topmost menu (on the Mac toolbar). Way down the dropdown list is ‘AutoText’ ➡️ ‘New…’. This is what you should see when you’ve done that:
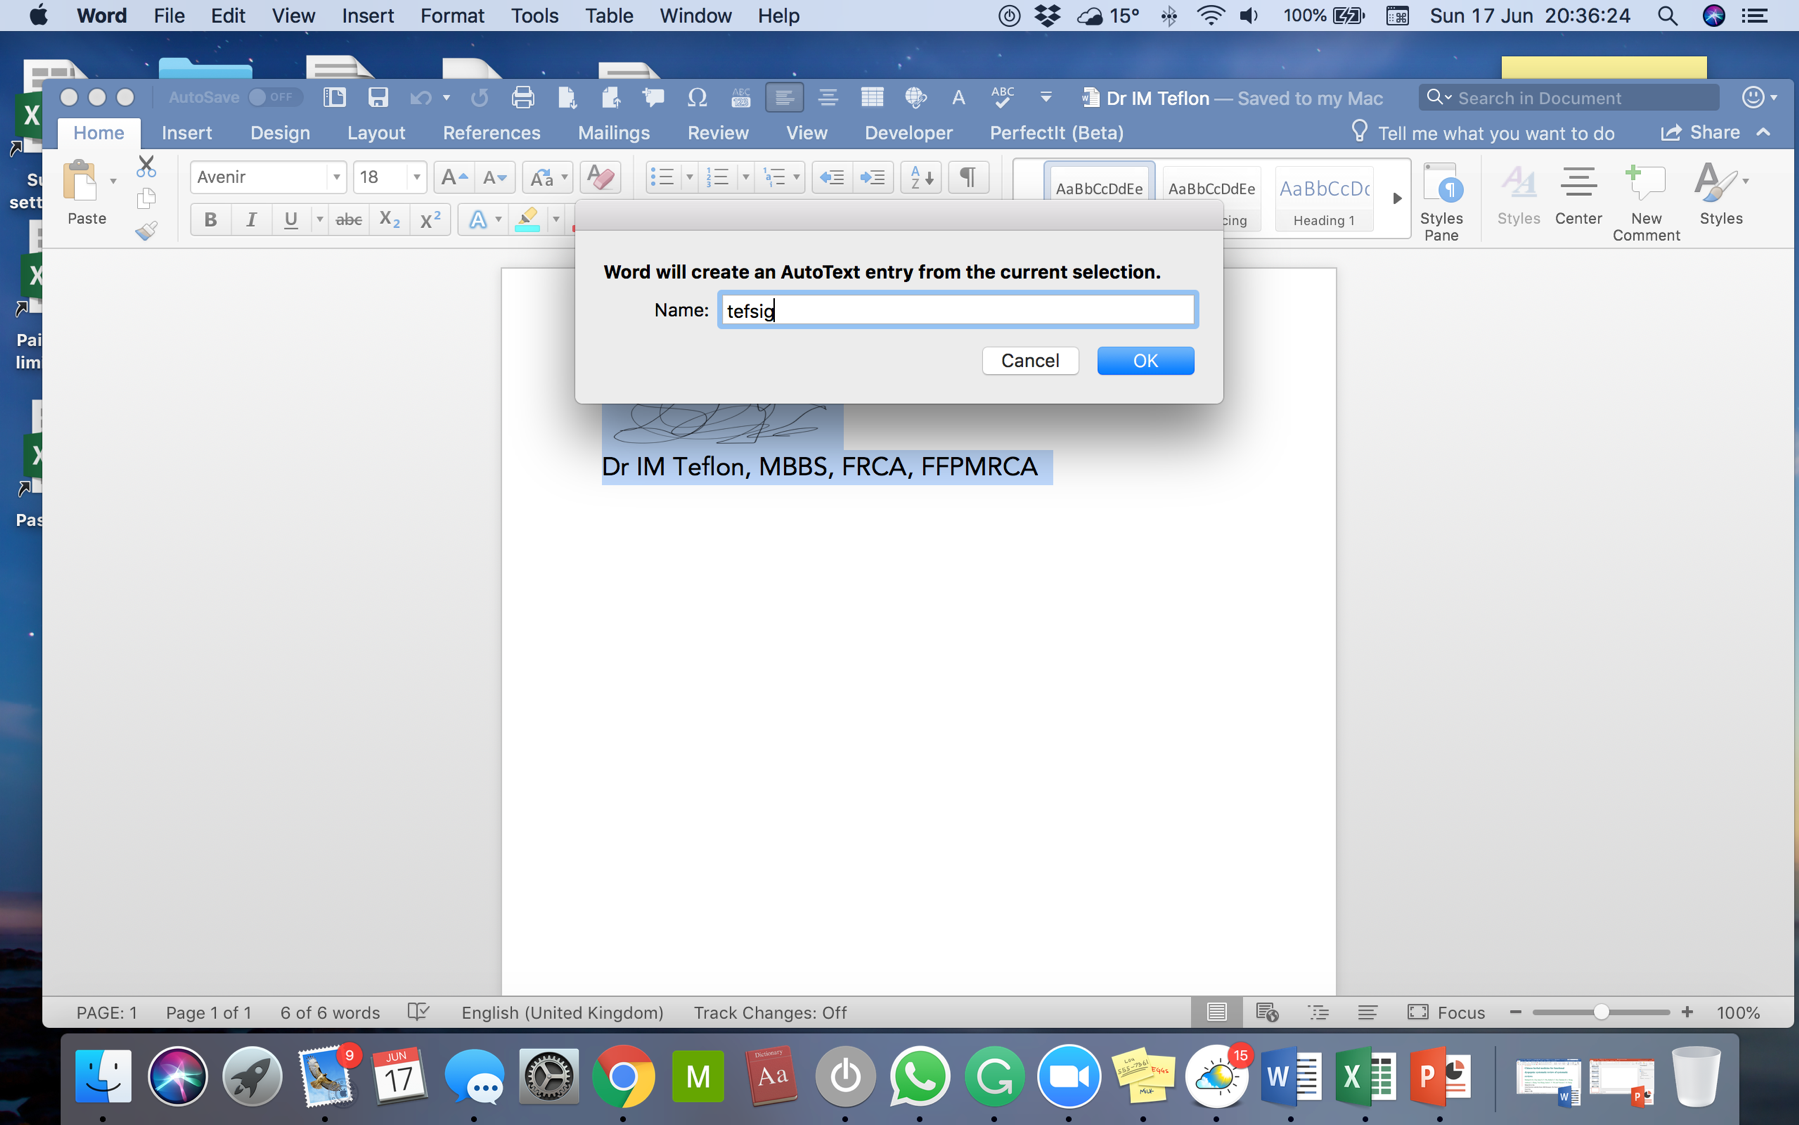
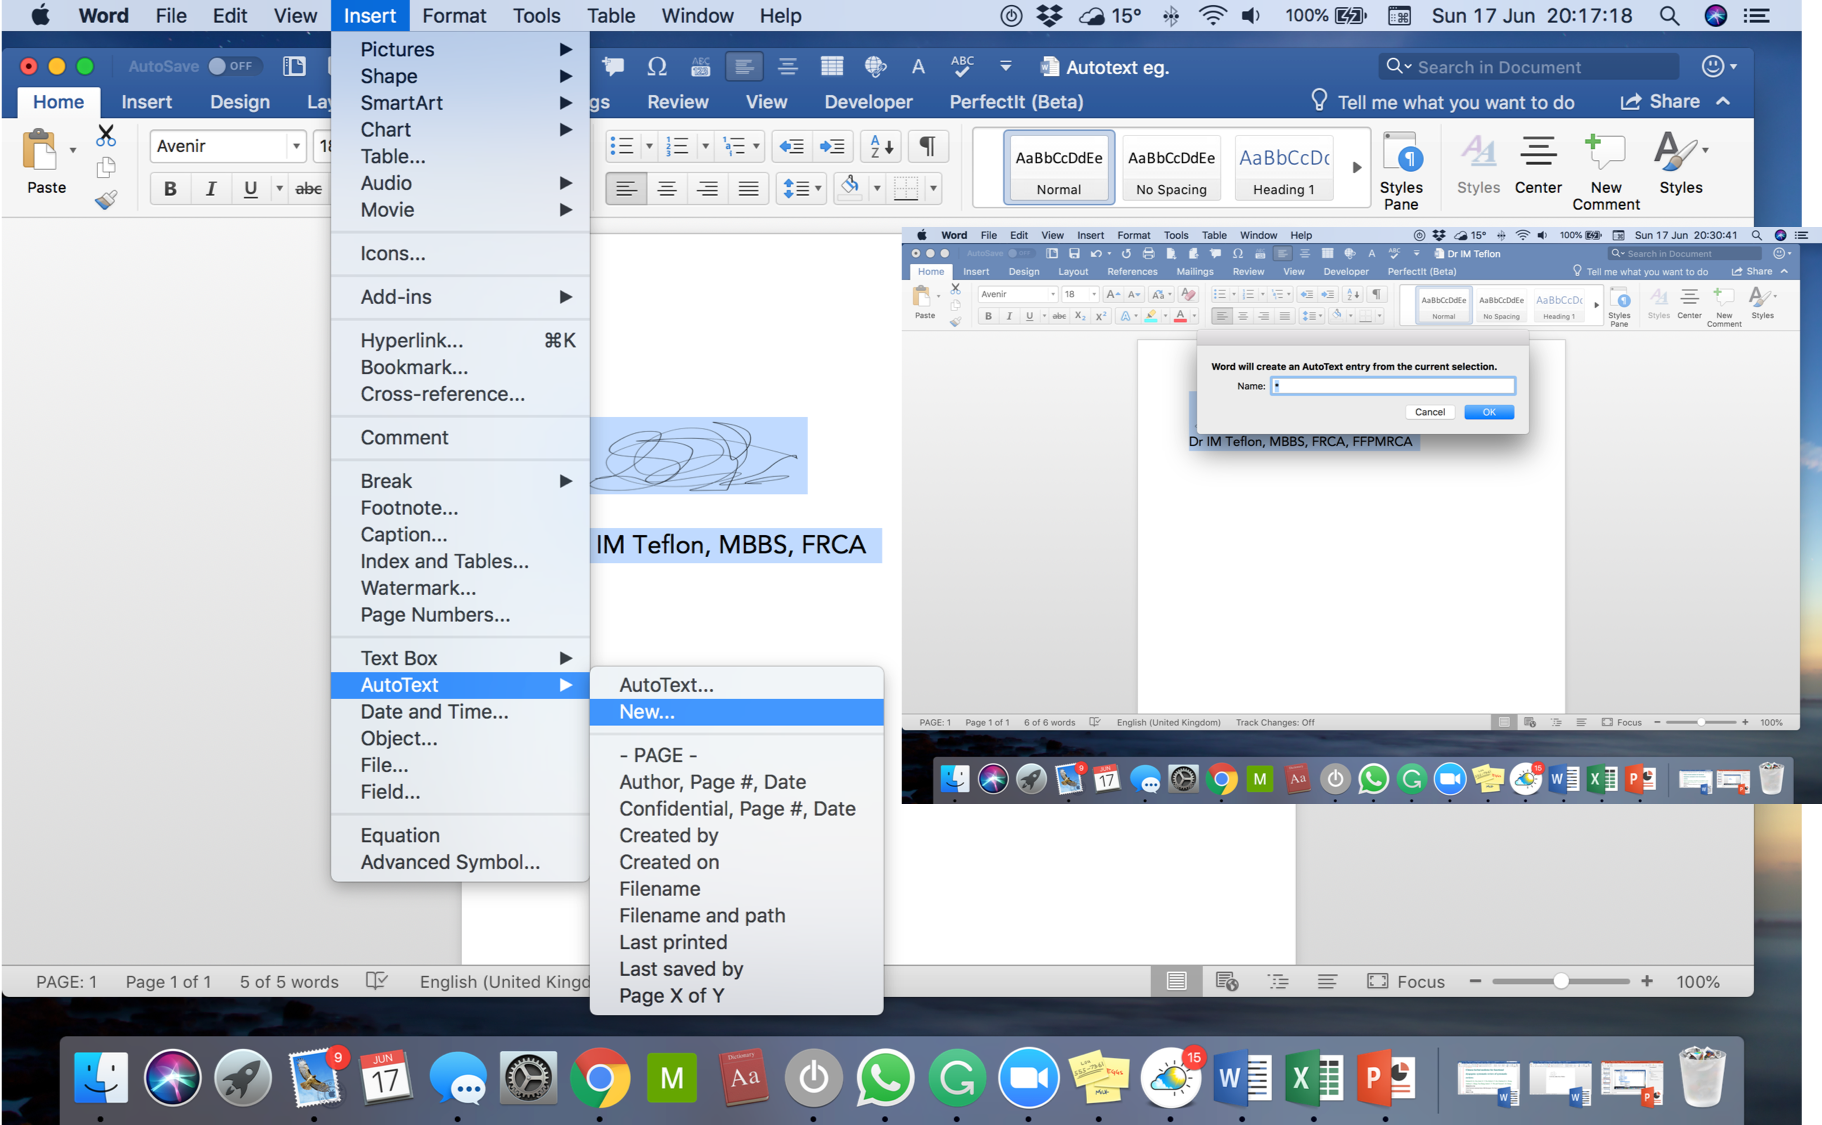 In that little box with the highlighted asterisk, for our newly created signature, something quick and easy like ‘tefsig’ will do:Once you click ‘OK’, every time you type out your AutoText word, the whole shebang should appear:
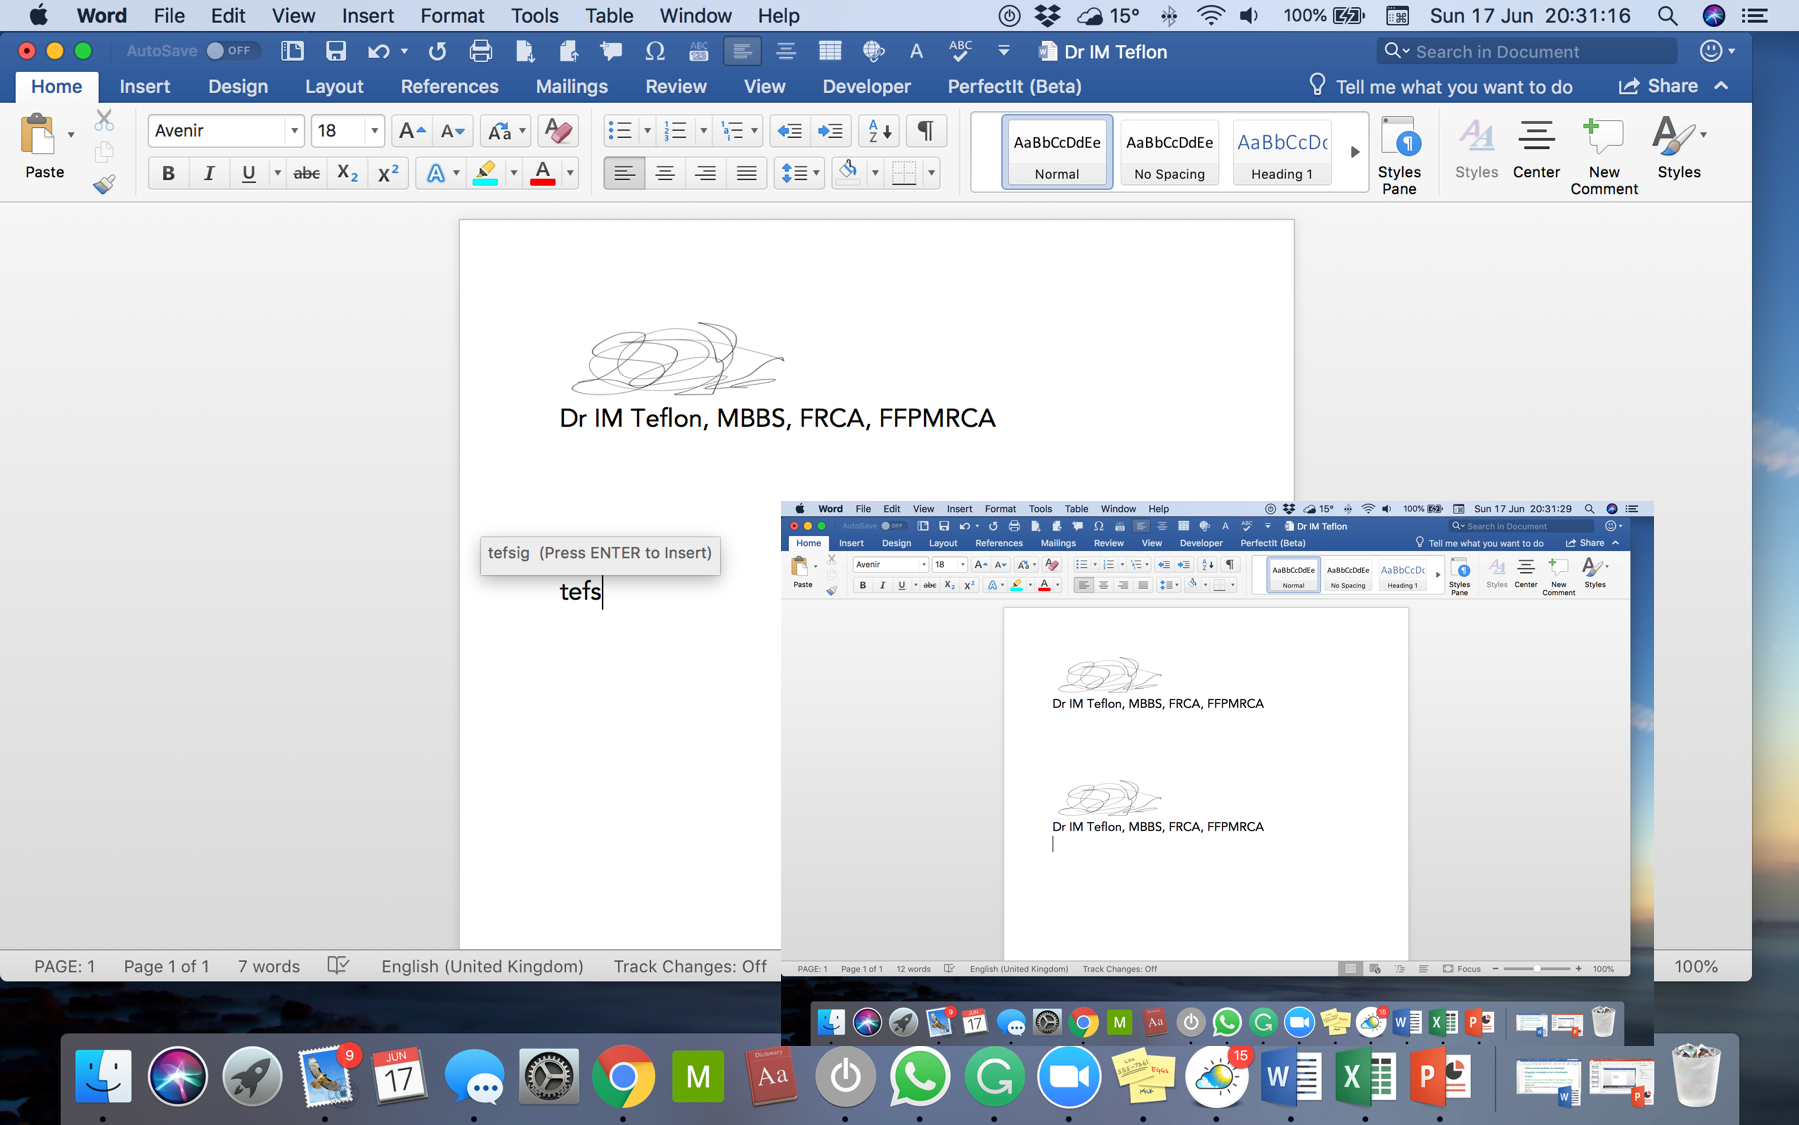
How did you get on? We’ve covered some of the less complex aspects of AutoCorrect and AutoText here. Did you manage to save yourself some time?


Recent Comments